5841
5841
Before launching your Carnegie Speech software, you need to set the microphone volume. First, plug in the USB headset and wait for the driver to automatically load (about 10 seconds)
Click on the Launchpad icon 
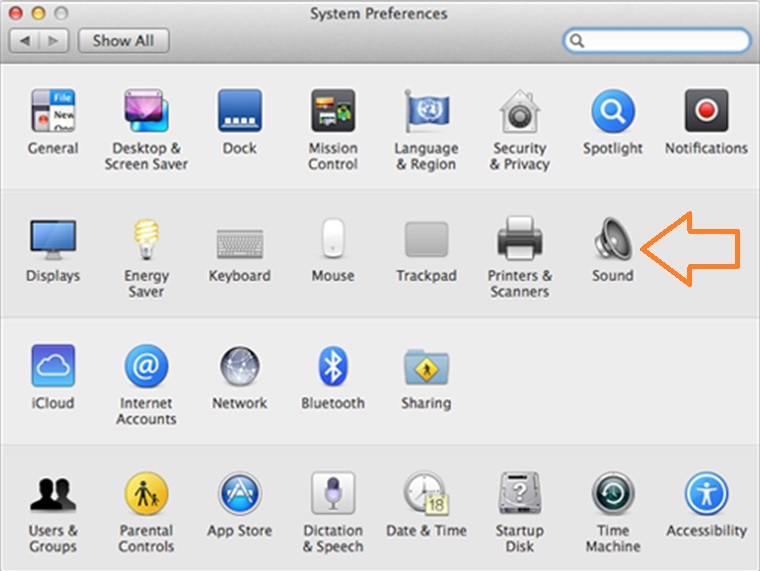
Find and click the System Preferences icon 
Find and click the Sound Icon 
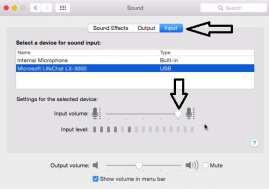
You can control the volume of your Mac, which microphone to use, and which alert sounds to play from the Sound panel in System Preferences.
Select the Input button, select the headset microphone, and increase the volume to 80%. If your device reports that the microphone is too loud or too soft, you may need to change these settings.
Close the Sound pane and System Preferences. You are ready to start NativeAccent.
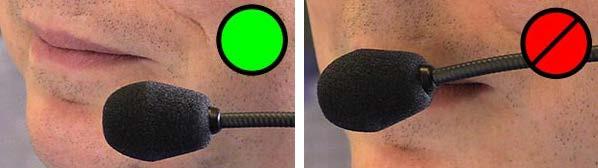
If you are using a headset microphone, place the headset on your head and position the microphone 2 finger-widths away and to the side of the mouth. Do not place the microphone pickup in the airway path. THIS IS VERY IMPORTANT as this will cause sound distortion in your recordings, and cause the speech recognition system to provide inaccurate feedback.